Sweet Potato Toast: Your Guide to Crispy Slices & Toppings
Learn how to make perfect, crispy sweet potato toast in a toaster, oven, or air fryer. Get savory & sweet topping ideas, plus meal prep and macro tracking tips.
Sweet potato toast gets oversold. A lot of recipes call it “toast,” then hand you a soft slab with wet toppings sliding off the top. That gap between promise and result is why so many home cooks try it once and never come back.
The biggest problem is sogginess, not flavor. Many online recipes promise “toast-like” results but deliver soft slices, and user comments frequently complain about that exact issue. Raw slices in a toaster often need 4 or more cycles just to become tender, and they still don’t develop true crispness, which is a common frustration for anyone expecting a real bread substitute, as noted by this sweet potato toast discussion.
Good sweet potato toast is possible. You just have to stop treating every method like it produces the same result. The toaster is fast but limited. The oven is the most reliable for meal prep. The air fryer is the best option when your priority is edge crispness and a firmer bite.
Texture starts with realistic expectations. Sweet potato toast can be excellent, but it won’t behave exactly like sourdough. It shines when you cook for the texture you want, then match toppings to that texture instead of piling heavy ingredients onto a soft base.
Practical rule: If your slice bends in the middle and looks damp on top, it isn’t ready for avocado, yogurt, or eggs.
That’s also why sweet potato toast works so well for people who care about calories, macros, and repeatable meals. Once you dial in the slice thickness and cooking method, it becomes easy to build simple breakfasts, post-workout meals, and fast lunches around the same base. The method matters first. Toppings come second.
Beyond the Hype Making Sweet Potato Toast That's Actually Good
The usual advice is too vague. “Just slice it and toast it” sounds easy, but it skips the one thing that decides whether sweet potato toast is satisfying or disappointing: moisture control.
Sweet potatoes carry a lot of water compared with bread. That’s why the common toaster-only approach often underdelivers. The interior softens before the outside firms up, especially if the slices are uneven or too thick. Then people add toppings too soon and trap steam on the surface.
Why most versions fail
Three mistakes cause most soggy batches:
- Slices are inconsistent: One piece turns limp while another burns at the edges.
- The cooking method doesn’t match the goal: A toaster is convenient, but it’s not the best path to a sturdy base.
- Toppings go on too early: Warm slices release steam. Soft toppings make that worse.
There’s also a texture mismatch in people’s minds. They want something that behaves like bread toast. Sweet potato toast is closer to a roasted vegetable base with toast-like handling when it’s cooked well.
What actually works
The best results come from treating it as a spectrum.
- Toaster: fastest, least consistent, best when you need one quick serving
- Oven: most reliable, best for batch cooking, strong all-purpose method
- Air fryer: best for a firmer exterior and more defined edges
A good slice should feel dry on the surface, tender through the center, and strong enough to hold toppings without folding. That’s the target. Not “crispy like baguette.” Strong, browned, and pleasant to bite.
Sweet potato toast gets better when you stop asking it to imitate bread and start cooking it for its own strengths.
Once you make that shift, everything improves. Your savory toppings sit better. Your sweet toppings don’t slide off. Your meal prep holds up. And the whole thing becomes less of a trend recipe and more of a practical staple.
A Nutrient-Dense Upgrade to Your Plate
Sweet potato toast earns a spot in meal prep for a simple reason. The base brings more to the plate than structure.
Sweet potatoes have long been a staple food in many parts of the world, as noted earlier in the article, which explains why they work so well in repeat meals. They are filling, affordable, and easy to pair with very different topping styles without tasting one-note by day three.
Why sweet potatoes work so well
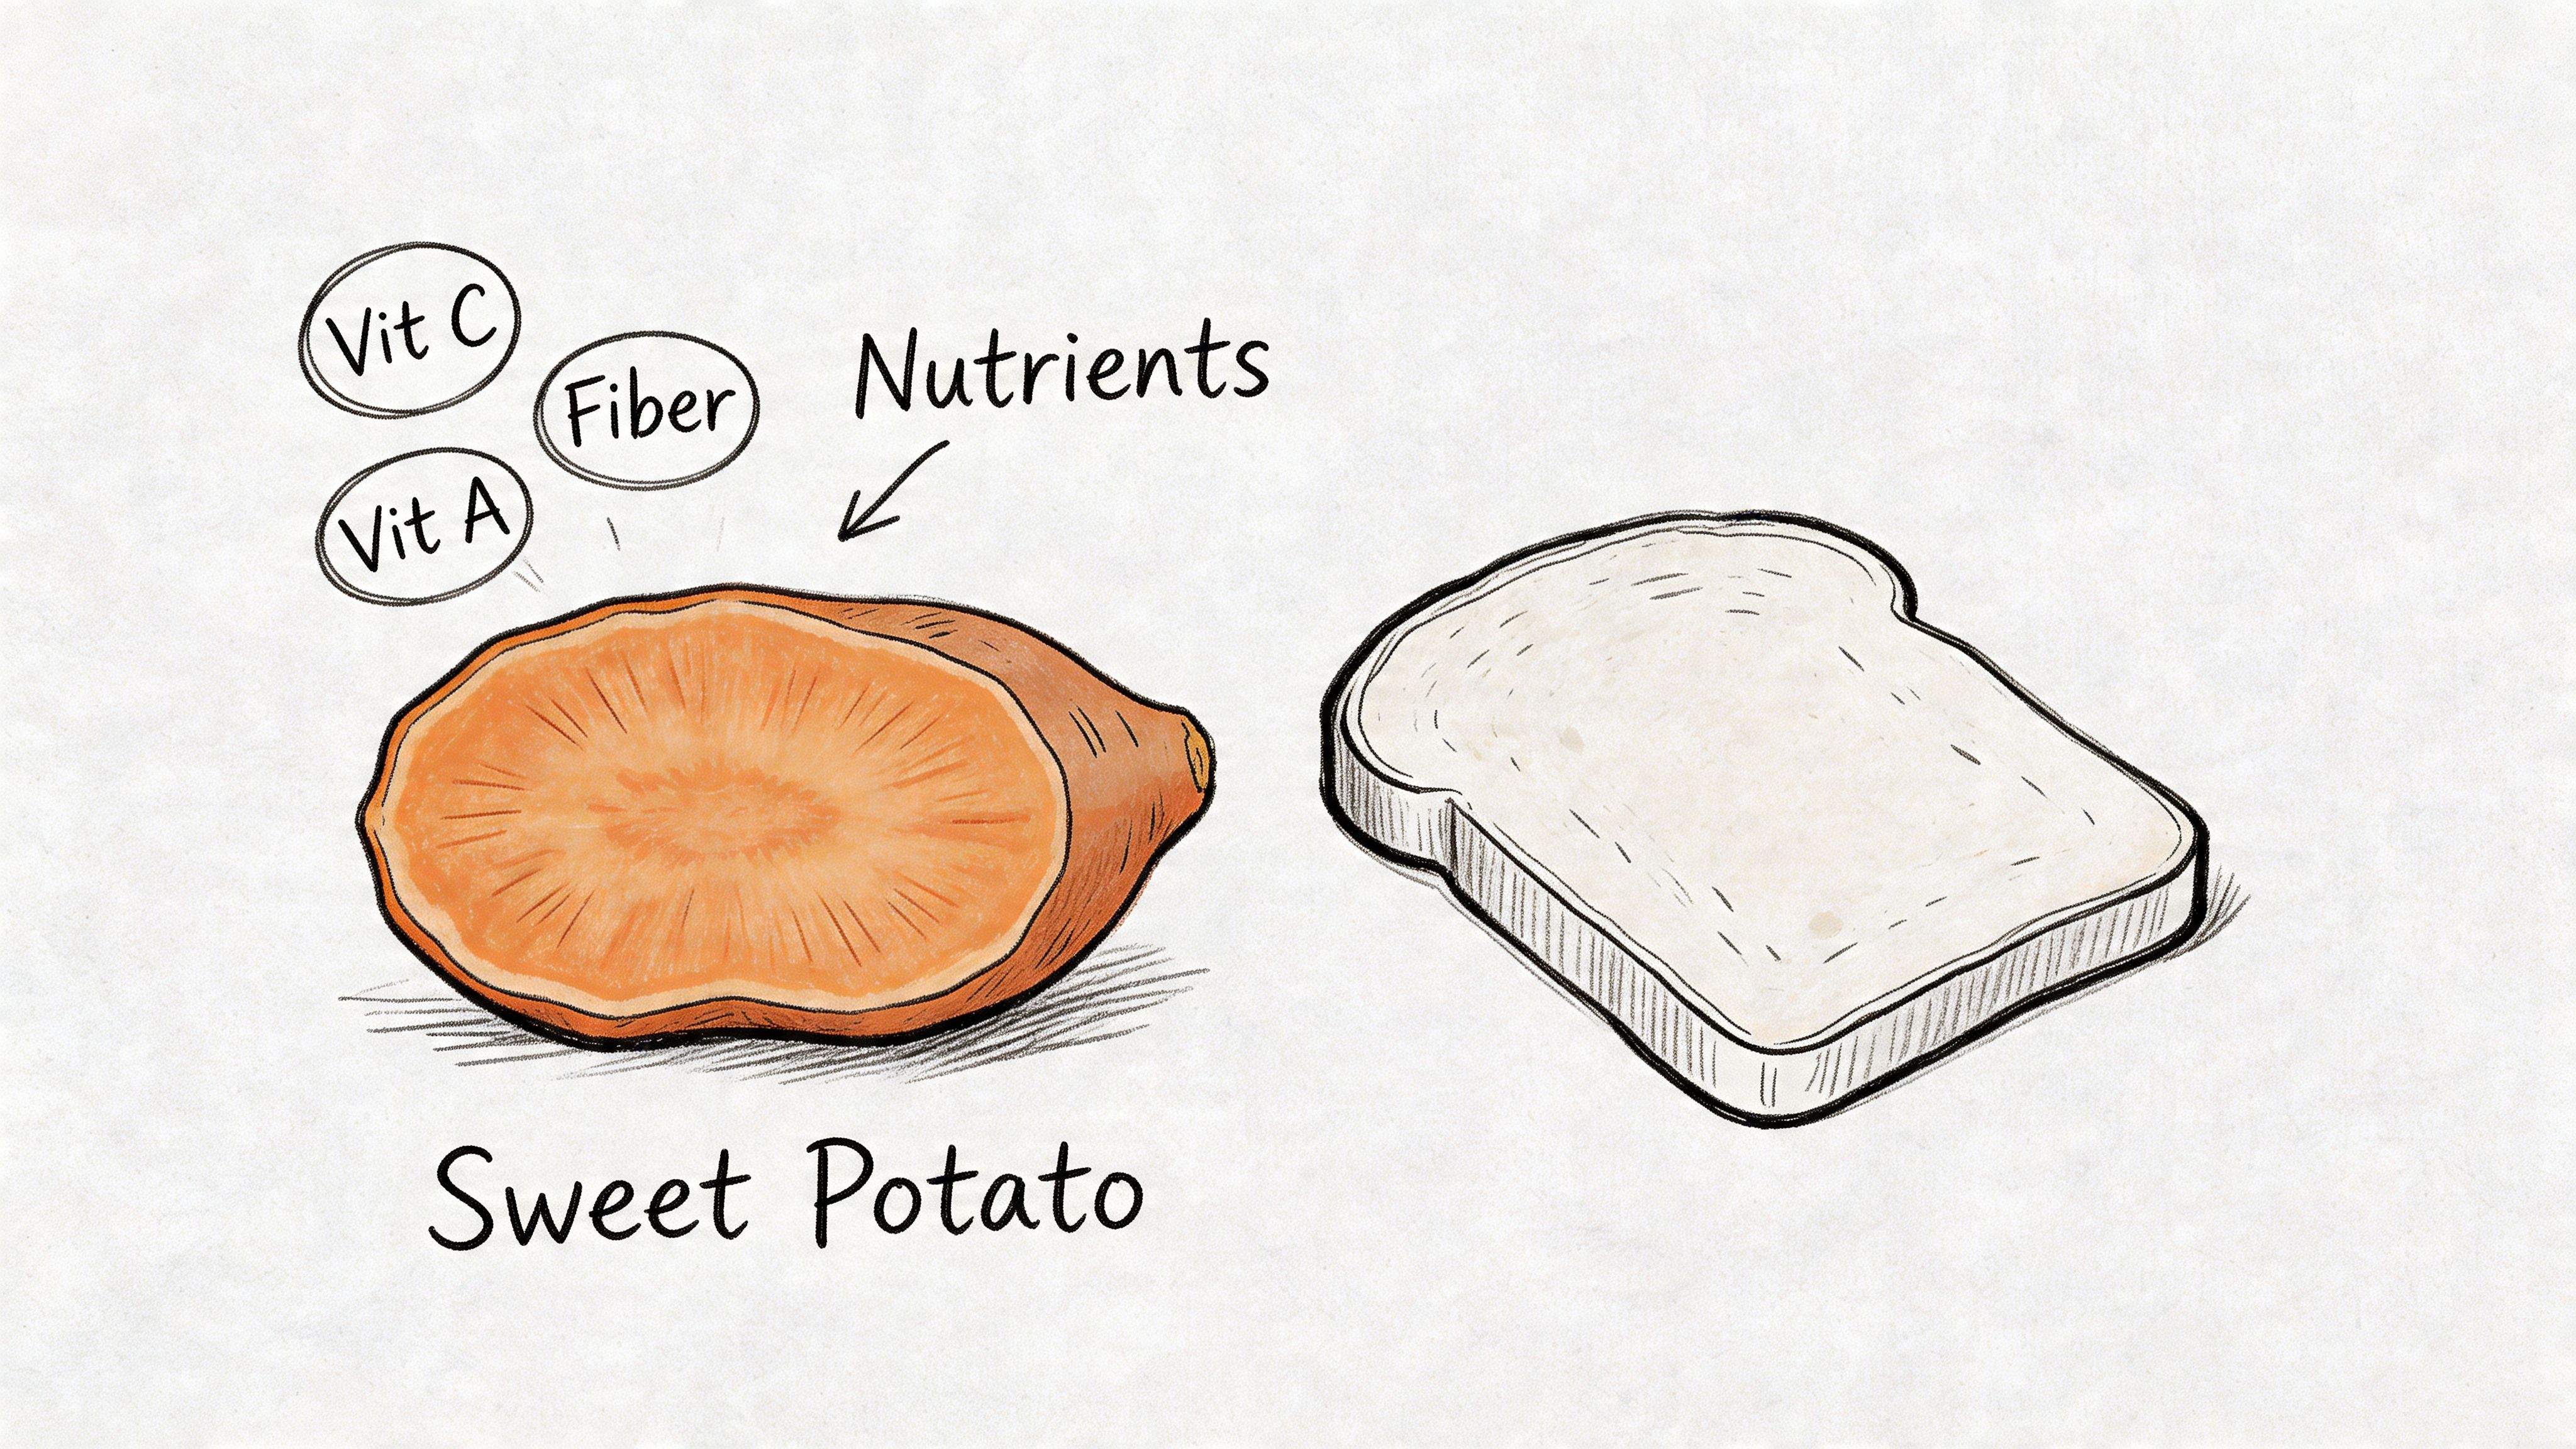
A medium sweet potato gives you carbohydrates for energy, fiber for staying power, and a strong dose of vitamin A. That matters in real meals because the base does more than carry toppings. It helps the whole plate feel satisfying.
I like sweet potato toast best for meals that need to pull double duty. It can support training fuel, keep breakfast from turning into a snack an hour later, and fit into a lower-effort prep routine. Bread can do some of that. Sweet potato adds more texture, more micronutrients, and a better fit for people who want a produce-forward carb source.
For practical eating, the main advantages are clear:
- More satiety per serving: Fiber helps the meal hold you longer than a very light toast base.
- Stronger micronutrient profile: Vitamin A is one of the big reasons sweet potatoes show up so often in nutrition-focused meal plans.
- Better flexibility with macros: They work with higher-protein toppings, higher-fat toppings, or fruit without fighting the flavor.
Macro planning gets easier when the base is predictable. If you want a clearer breakdown before building meals around it, this guide on how many carbs are in a sweet potato is a useful reference.
Better than “healthy toast”
The value here is practical, not trendy. Sweet potato toast gives you a nutrient-dense base that can swing savory with eggs, cottage cheese, avocado, or hummus, then go sweet with yogurt, nut butter, berries, or cinnamon in the next batch.
That flexibility matters if you meal prep in bulk. A tray of cooked slices can support several goals at once: higher-protein breakfasts, lighter lunches, or pre-workout meals with a defined carb source. Clean, even slices also help with portion consistency, and choosing the right kitchen knives makes that part easier if your current knife setup is fighting you.
The trade-off is that a more nutrient-dense base takes more care to cook well. Bread is ready in minutes. Sweet potato needs proper slicing and enough dry heat to avoid going soft in the middle. Get that part right, and the nutrition side stops feeling like a compromise.
From Quick & Easy to Perfectly Crispy Your Cooking Guide
Sweet potato toast gets oversold because many recipes treat “cooked through” as good enough. Often, the primary concern is texture. The slice softens, toppings go on, trapped steam builds underneath, and the whole thing eats more like a warm casserole slab than toast.
Method decides whether that happens.
A short, wide sweet potato gives you better toast than a long narrow one because the slices are broader and usually more uniform from end to end. Uniformity matters more than people expect. Thin ends burn before the thick center pieces dry out. For prep, a sharp chef’s knife makes the job safer and cleaner, and this guide to choosing the right kitchen knives is useful if your current knife struggles with dense root vegetables.
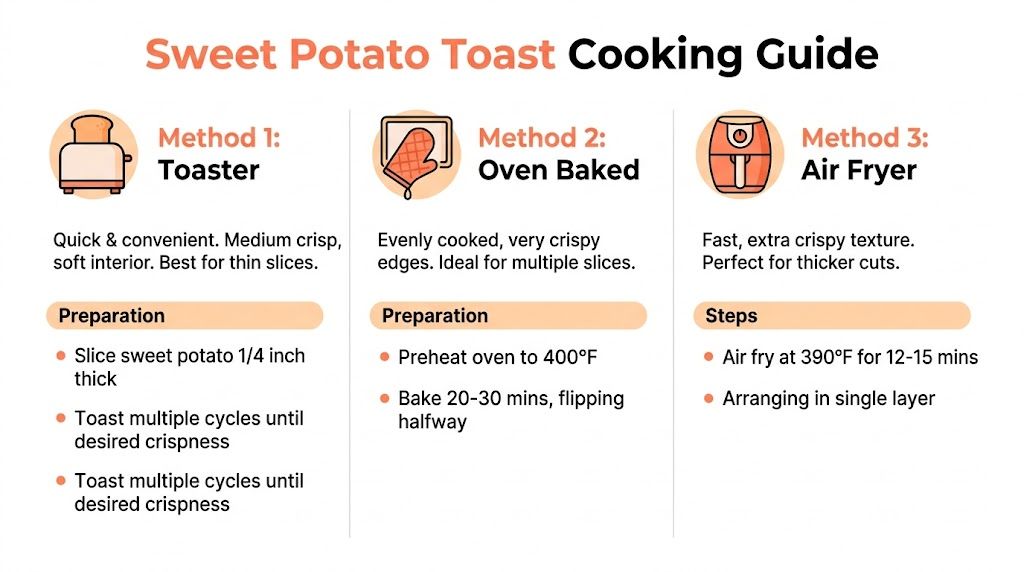
The toaster when speed matters
The toaster is convenient, but it is the weakest option for crisp texture. It heats from the sides, which means the exterior can scorch before the center loses enough moisture to firm up.
A tested method from Downshiftology’s sweet potato toast guide notes that raw slices often need repeated cycles in a toaster and still tend to stay softer in the middle than oven-cooked slices. That lines up with real kitchen results. The toaster works best for one or two thin slices and lighter toppings.
Use the toaster if:
- You want the fastest single serving
- You’re fine with a softer center
- You’re topping it lightly, such as almond butter, mashed avocado, or a thin layer of cottage cheese
A few adjustments help:
- Cut slices evenly.
- Keep them on the thinner side.
- Toast in separate slots with room around each slice.
- Rest them briefly before topping so surface steam can escape.
That last step matters. Steam is the main reason “toast” turns limp.
The oven for consistency and meal prep
The oven gives the most repeatable results, especially if you are cooking a batch for the week. Dry heat from both the pan and the oven air cooks the slice through more evenly, and you have more control over spacing.
For the oven method, 1/4-inch slices baked at 400°F (204°C) for 15 to 20 minutes per side are a reliable starting point for slices that are tender in the middle without collapsing. More important than the exact number is what that setup is doing. Moderate slice thickness prevents a raw center. Enough time on each side lets moisture leave the surface, which is what creates browning instead of a wet exterior.
A reliable oven workflow looks like this:
- Dry the slices well after washing: Surface moisture slows browning.
- Use parchment or a lightly oiled pan: Too much oil encourages softness instead of crisp edges.
- Leave space between slices: Crowding traps steam.
- Flip once: Both sides need direct exposure to dry heat.
- Cool for a minute or two before topping: Carryover steam can undo good texture fast.
This is also the easiest method to scale. Roast a full tray, cool the slices completely, then refrigerate them in a single layer or with parchment between layers. Reheat before eating, not after topping.
Here’s a visual walk-through of the process:
Kitchen note: Pale, floppy slices usually need less crowding and more drying time, not more cooking spray.
The air fryer for the best shot at crisp edges
If crispness is the goal, the air fryer usually wins. Faster air movement strips surface moisture more efficiently than a standard oven, so the outside firms up sooner and the edges brown better.
That does not mean the air fryer is automatic. Stack slices or crowd the basket and you get the same soggy result in a smaller appliance.
For better air-fryer results:
- cut slices evenly
- pat them dry
- arrange them in a single layer
- cook until the surface looks dry and the edges show real browning
- let them sit briefly before adding wet toppings
The air fryer is the best fit for heavier or wetter combinations like yogurt, smashed berries, cottage cheese, or eggs, because the finished slice usually has more structure. If you convert oven recipes often, this air fryer temperature conversion calculator helps you adjust time and heat without guessing.
Small details that fix most soggy batches
These are the details that separate decent sweet potato toast from slices that hold toppings well:
- Cut for the method: Slightly thinner for toaster, slightly thicker for oven or air fryer
- Dry before cooking: Water on the surface turns into steam before browning starts
- Use oil sparingly: A light coat helps color. Excess oil softens the exterior
- Cool before topping: Hot slices keep releasing steam
- Match topping weight to the slice: Soft slice for spreads, firmer slice for eggs or piled vegetables
The practical summary is simple. Use the toaster for convenience, the oven for reliable batch prep, and the air fryer when you want the closest thing to actual crisp toast.
Sweet and Savory Toppings for Every Meal
The best toppings depend on the texture of your slice. A softer oven-baked piece does well with spreads and chopped toppings. A firmer air-fried piece can carry heavier combinations without collapsing.
A foundational sweet potato toast recipe with avocado and walnuts can deliver about 30 to 40g carbs, 15 to 20g healthy fats, and 4 to 6g protein per slice, according to this sweet potato toast recipe from Oldways. That’s a useful benchmark because it shows how quickly one slice can become a balanced meal rather than just a side.
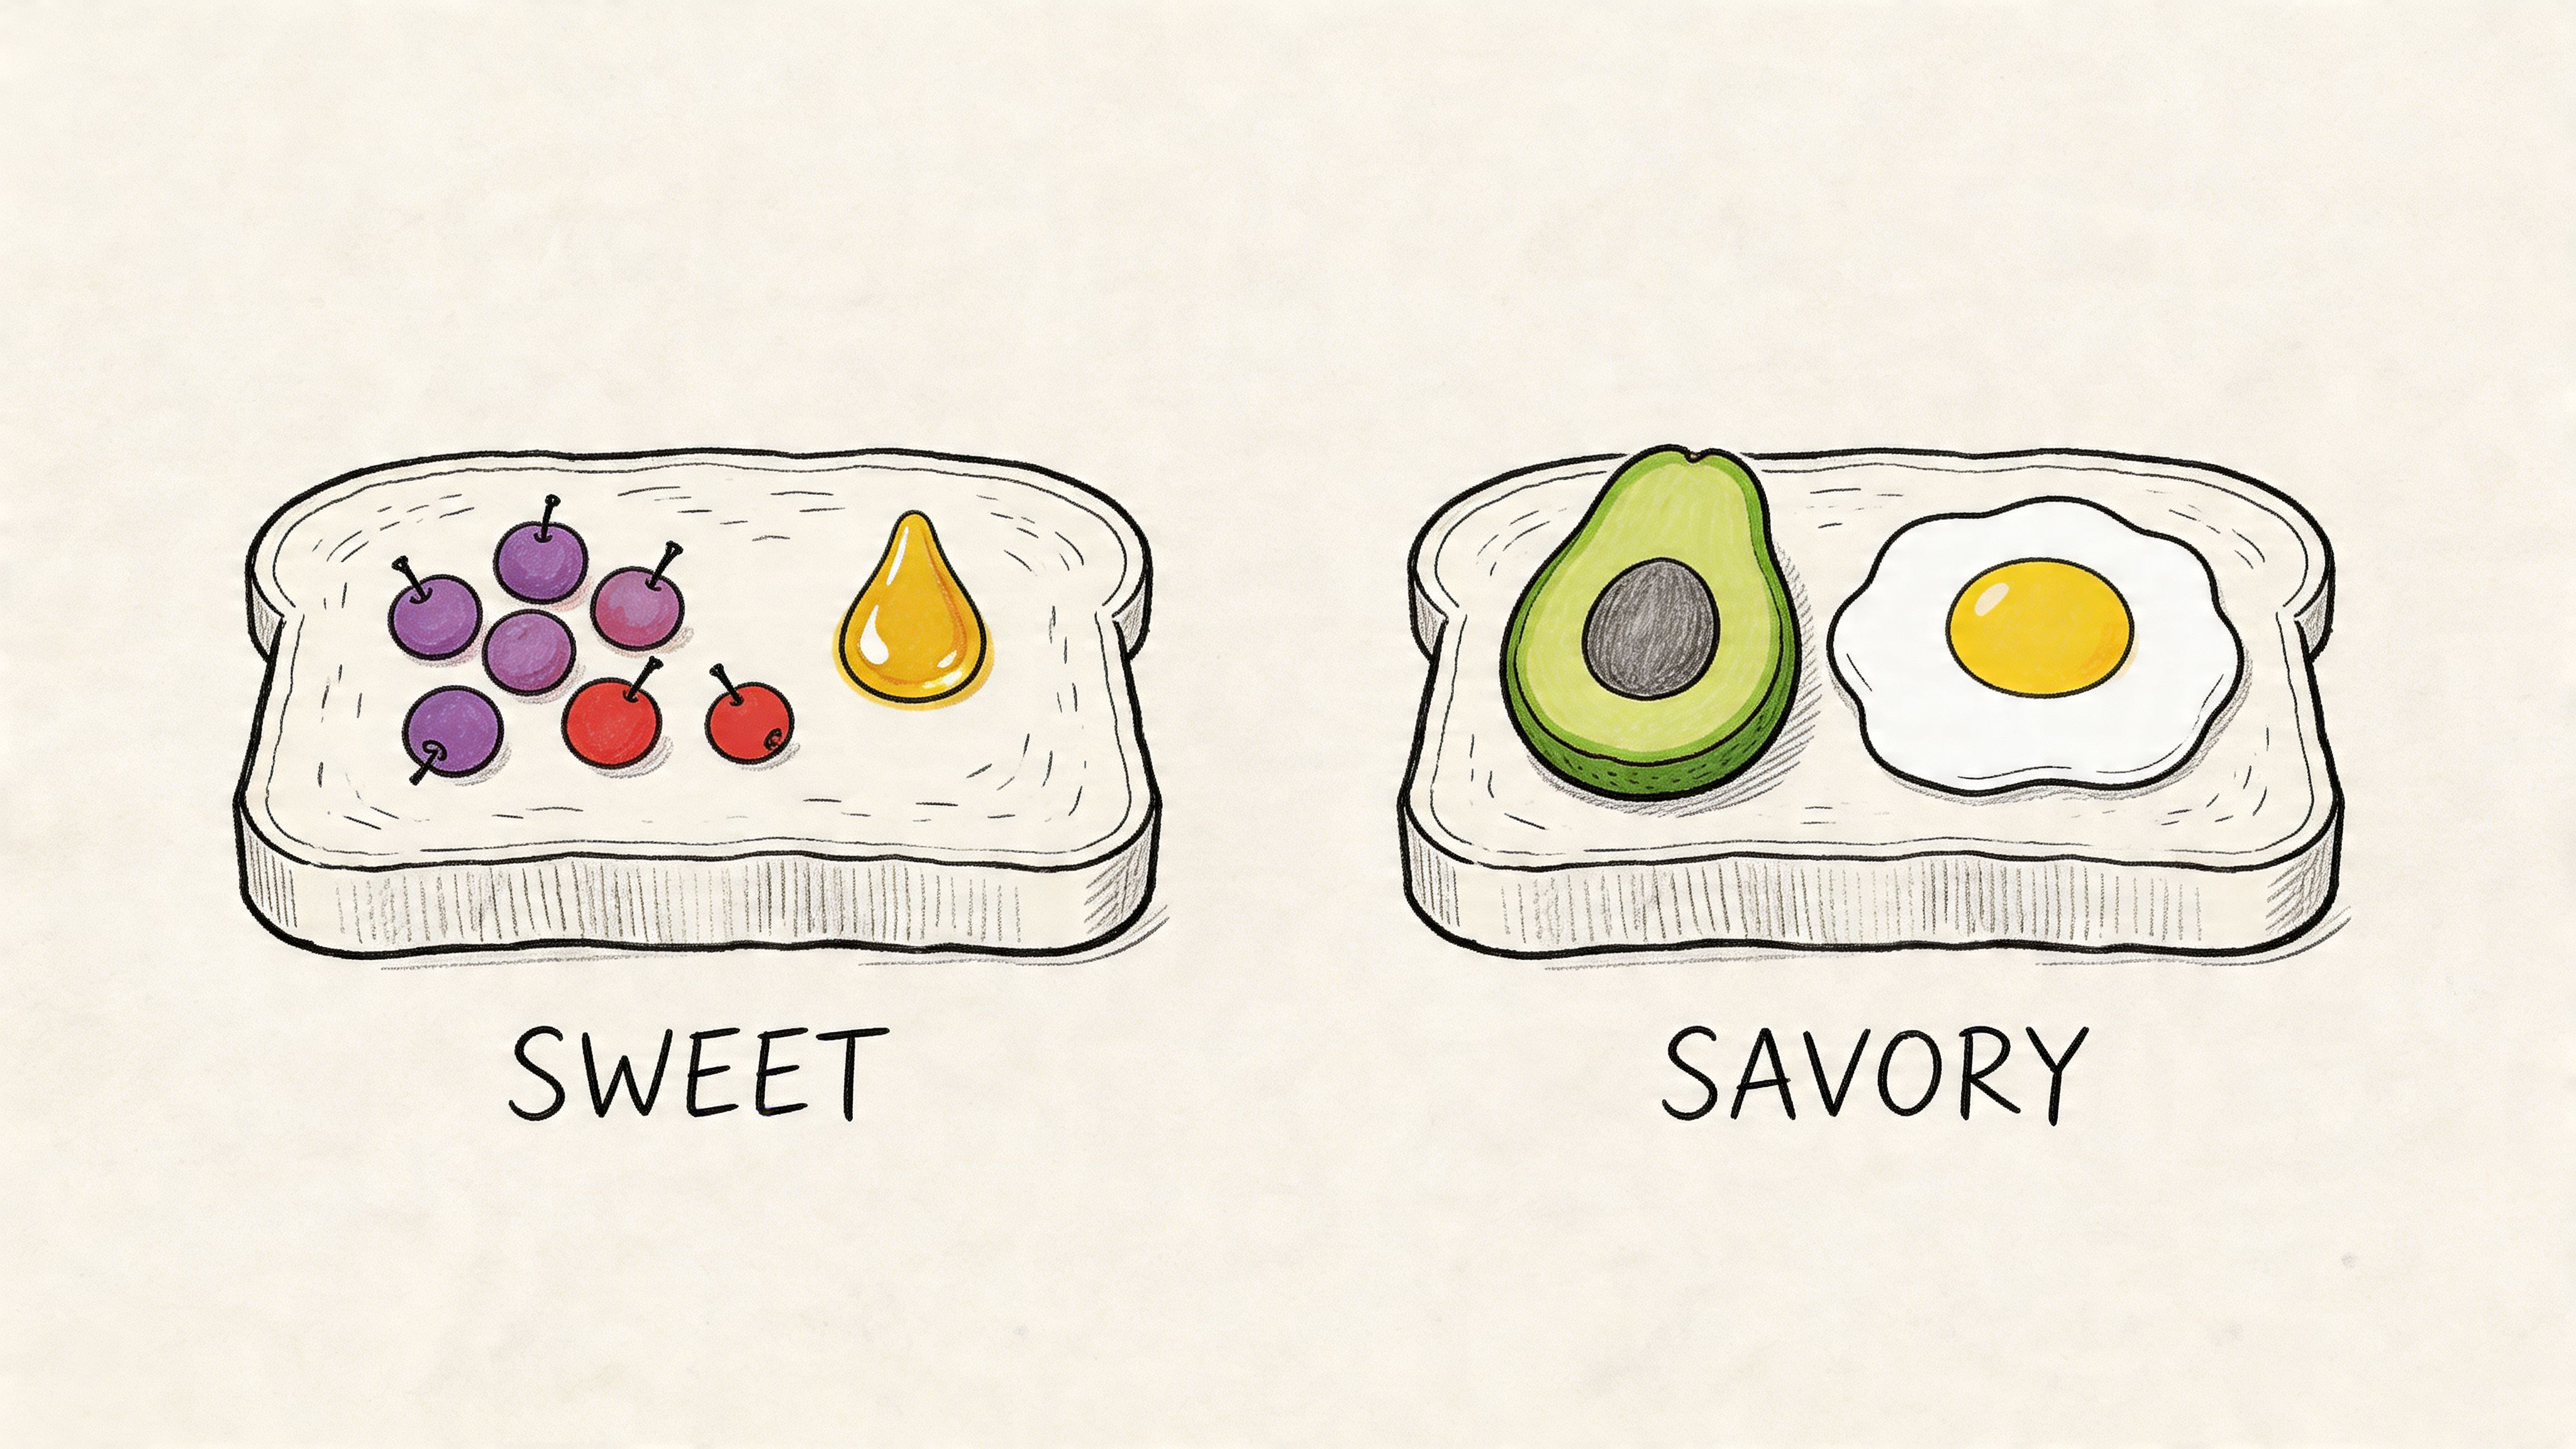
Savory combinations that hold up well
These work best when your slices are fully cooked, lightly browned, and cooled just enough to stop steaming.
-
Avocado and walnuts
Mash avocado lightly, season it, then finish with chopped walnuts for crunch. This is the closest to a proven macro-friendly base because it lines up with the benchmark above. -
Egg and herbs
Use a firmer slice here. A soft-boiled, fried, or sliced hard-boiled egg brings protein and turns the toast into a more complete breakfast. -
Hummus and crunchy vegetables
Spread hummus thinly, then top with cucumber, radish, or sprouts. The contrast matters. Sweet potato is soft by nature, so crunchy toppings keep the bite interesting. -
Cottage cheese and chili flakes
This is one of the most practical high-protein directions. Keep the layer modest so the toast doesn’t get weighed down.
Heavier toppings need a drier slice. If the base is tender but still damp on top, use chopped toppings instead of creamy ones.
Sweet toppings that don’t feel like dessert
Sweet potato already has natural sweetness, so the best sweet combinations usually need restraint.
-
Greek yogurt and berries
Add the yogurt after the slice cools slightly. Warm sweet potato plus cold yogurt works well, but only if the surface isn’t steaming. -
Nut butter and banana
Spread nut butter thinly so it doesn’t overpower the base. Banana gives quick energy and works especially well before training. -
Ricotta and cinnamon
This one feels more substantial than jam-based options and keeps the flavor clean. -
Apple and seed butter
Thin slices of apple add crunch, which sweet versions often need.
Macro-Friendly Topping Ideas (Estimates Per Slice)
| Topping Combination | Calories (est.) | Protein (g, est.) | Fat (g, est.) | Carbs (g, est.) |
|---|---|---|---|---|
| Avocado and walnuts | moderate | moderate | higher | moderate |
| Egg and herbs | moderate | moderate to higher | moderate | moderate |
| Hummus and crunchy vegetables | lighter to moderate | lighter | lighter to moderate | moderate |
| Cottage cheese and chili flakes | moderate | higher | lighter to moderate | moderate |
| Greek yogurt and berries | lighter to moderate | moderate | lighter | moderate |
| Nut butter and banana | moderate to higher | moderate | moderate to higher | higher |
| Ricotta and cinnamon | moderate | moderate | moderate | moderate |
| Apple and seed butter | moderate | lighter to moderate | moderate | moderate |
When exact ingredients and portions change, the numbers change fast. The practical move is to pick one carb base, one protein or fat anchor, and one texture booster like seeds, nuts, herbs, or fruit.
Your Weekly Sweet Potato Toast Meal Prep Plan
Sweet potato toast becomes useful when it’s already cooked. If you have to wash, slice, roast, cool, and top it from scratch every time, it turns into a weekend recipe instead of a weekday habit.
The oven is the best batch-cooking method because it handles multiple slices evenly and creates a base that reheats well. Cook a tray, let the slices cool completely, then store them in a sealed container in the fridge. Keeping them uncovered while they cool first helps excess steam escape, which protects texture later.
A simple prep rhythm
A practical weekly flow looks like this:
- Cook a batch on one day using your preferred oven texture.
- Cool the slices fully before stacking or storing.
- Separate layers if needed so they don’t stick and trap moisture.
- Reheat only what you need instead of warming the whole batch.
For broader planning around make-ahead meals, these easy weekly meal prep ideas can help you slot sweet potato toast into a bigger routine.
How to reheat without ruining it
Reheating method matters almost as much as the first cook.
- Toaster or toaster oven: Best for restoring a bit of surface firmness.
- Air fryer: Best when you want the strongest texture recovery.
- Microwave: Fastest, but usually the worst for texture.
If you know you’ll use slices for sweet toppings, a slightly softer reheat is fine. If you’re planning eggs, avocado, or anything creamy, go for the driest, firmest reheat you can manage.
Batch-cooked sweet potato toast is at its best when you think of reheating as a second chance to improve texture, not just warm it through.
The meal-prep advantage is simplicity. A cooked slice gives you a ready-made base for breakfast, lunch, or a quick snack. Pair it with prepped proteins, fruit, spreads, or leftovers, and it stops being a novelty recipe. It becomes one of those fallback foods that saves you when the day gets busy.
Log Your Meal in Seconds with BiteKit
Cooking sweet potato toast well takes more effort than logging it should. The texture work matters. The macros matter too, especially when the difference between a lean, crisp breakfast and a calorie-dense one usually comes down to toppings and oil.
A plain slice, a lightly brushed slice, and a slice loaded with avocado, eggs, nut butter, or yogurt can look similar at a glance and land very differently in your day. Manual logging gets tedious fast. You have to estimate the cooked sweet potato, remember the fat used on the pan, then add each topping one by one. That friction is a common reason consistency slips.
BiteKit's photo meal logging app cuts out most of that busywork. Snap the finished plate, log it, then adjust if needed. That approach fits sweet potato toast unusually well because this meal changes in small but meaningful ways. One extra spoonful of cottage cheese, half an avocado instead of a quarter, or an extra egg can shift the protein and calorie total more than people expect.
It works best in a few real situations:
- Fast breakfasts: Log before you leave the kitchen instead of trying to remember the meal later.
- Post-workout meals: Capture the carb and protein balance while the plate is still in front of you.
- Meal prep rotations: Reuse the same base and compare how different toppings affect your totals across the week.
I like that it matches how people eat. Sweet potato toast is rarely just sweet potato once it reaches the plate. It is a mixed meal, and mixed meals are where database searching becomes a chore.
The practical benefit is pattern recognition. You can spot which versions keep your protein high, which ones push fats up quickly, and which combinations are worth repeating because they are both satisfying and easy to prep. That makes this more than a trendy bread swap. It becomes a repeatable meal you can cook crisp, eat often, and track without turning breakfast into admin.